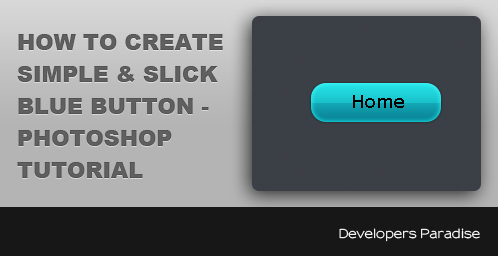
In this tutorial we are going to create simple & slick blue button. This is very simple and quite effective tutorial, so all you need is Adobe Photoshop to create this effect. I hope you will enjoy this tutorial.
Step # 1
Open photoshop and create a new document, mine is 550px×125px with a white background.
Step#2
Fill the color in background layer, mine color is #3B3F46.

Step #3
Select the Rounded Rectangle Tool and create button, mine Radius is 15px, width: 128px and height: 36px. Change your foreground color to a nice #13AAB7(Blue).

Step #4
Now we need to add some nice effects to the button.
Gradient Overlay
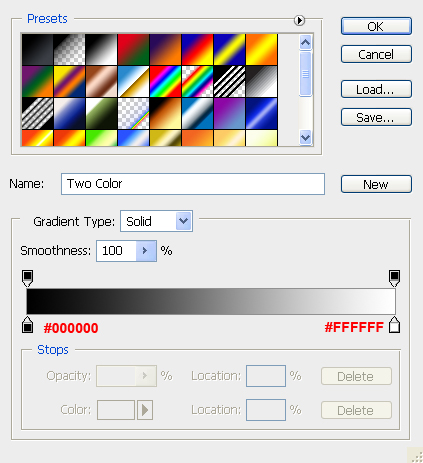
Styling the Button double-click on the Button Layer’s thumbnail in the Layers Panel to open up the Layer Styles dialog box, we will apply a Vertical Gradient Effect for your Button. Then click on the Color Gradient on the right of the Gradient option to open up the Color Gradient Editor.
First change the blending option to Overlay. Keep the angle at 90o, than changing the values of Opacity. I choose to set the Opacity at 50%.
Double-click on left-color-stop and enter the color value #000000, then double-click on right-color-stop and enter the color value #FFFFFF.
Inner Glow
Next apply the inner glow layer style. First change the blending option to Overlay , than changing the values of opacity and Size. I choose to set the opacity at 55% and Size at 6px.
Change the glow Color from the default to #FFFFFF
Drop SHadow
Next apply the drop shadow layer style. First change the blending option to Normal. Keep the angle at 120o, than changing the values of Opacity and Size. I choose to set the Opacity at 55% and Size at 3px.
Should look like this.
Step # 5
Create another new layer, make a selection around your original button, you can do this by holding ctrl then clicking the layer’s thumbnail.).
Fill the foreground color to White.
Select the Rounded Rectangle Tool , select and delete the bottom half of the white layer you just made, you might need to measure the height of your button before deleting the bottom half.
First you need to change the layer mode option to Softlight, than changing the values of opacity. I choose to set the opacity at 20%
Step # 6
Select Horizontal Type Tool and Type Text on front.
Final
Let us know how that this tutorial can be more better? If you found any other photoshop tutorial that you want to share with us,feel free to let us know by dropping in a comment.
if you would like to receive more tutorials from us, please consider subscribing to our feed by RSS or by email.


This article has been shared on favSHARE.net. Go and vote it!
.-= favSHARE´s last blog ..Make Money Online With Domain Purchase =-.
Pingback: 50+ Fresh Useful Posts for Designers and Developers | Afif Fattouh - Web Specialist